Neck Design for Stitching: A Practical Guide
Choosing a neck design for stitching is only half the job; the other half is measuring, marking and finishing it so it sits flat. This guide walks through each step the way a boutique tailor does it, with a depth chart in inches.
Use it whether you sew at home or want to check your darzi's work. Once you know the steps, pick a shape from our simple neck designs or the round and square necks and you will know exactly what to ask for.
Measuring and Marking a Neck Design for Stitching
Every good neck starts with honest numbers and clear chalk lines. Fold the front in half so both sides come out the same.
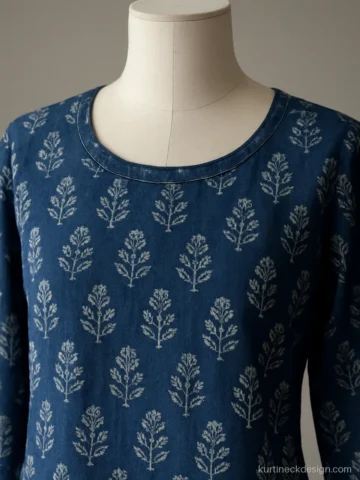
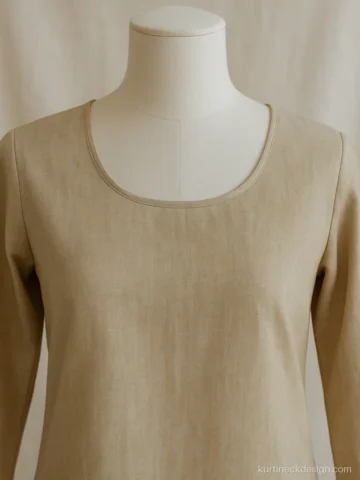
Depth: Front 5.5 in, back 4 inFabric: Cotton, cambricTrim: Chalk only
Fold the front on the centre line and mark only one half. When you cut through both layers, the two sides match by default.
Darzi noteMark half width 3.5 inch from fold, depth 5.5 inch from shoulder line. Cut both layers together.
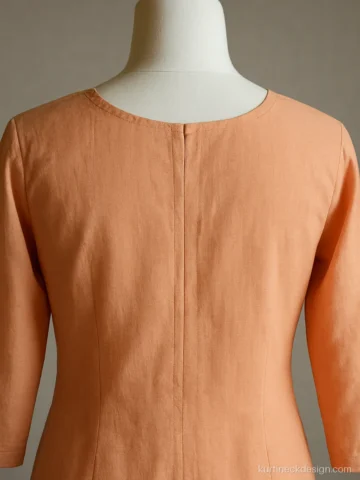
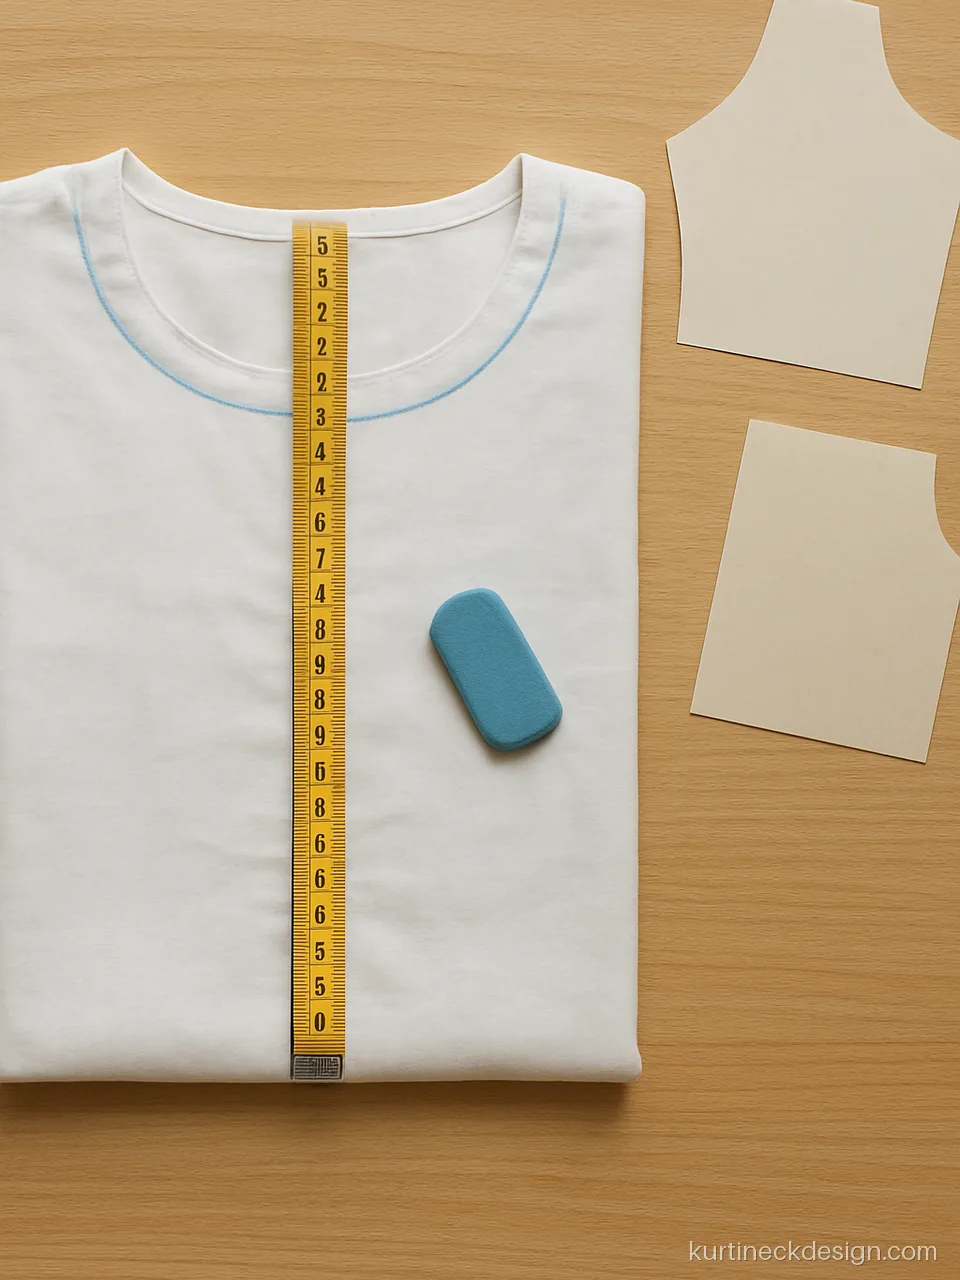
Depth: Front 6.5 in, back 4.5Fabric: RayonTrim: Chalk only
Depth is measured straight down from where the shoulder seam meets the neck. Measuring from the wrong point is the most common cause of a too-deep neck.
Darzi noteStart the tape at the shoulder-neck point, go straight down 6.5 inch on the fold, mark a cross.
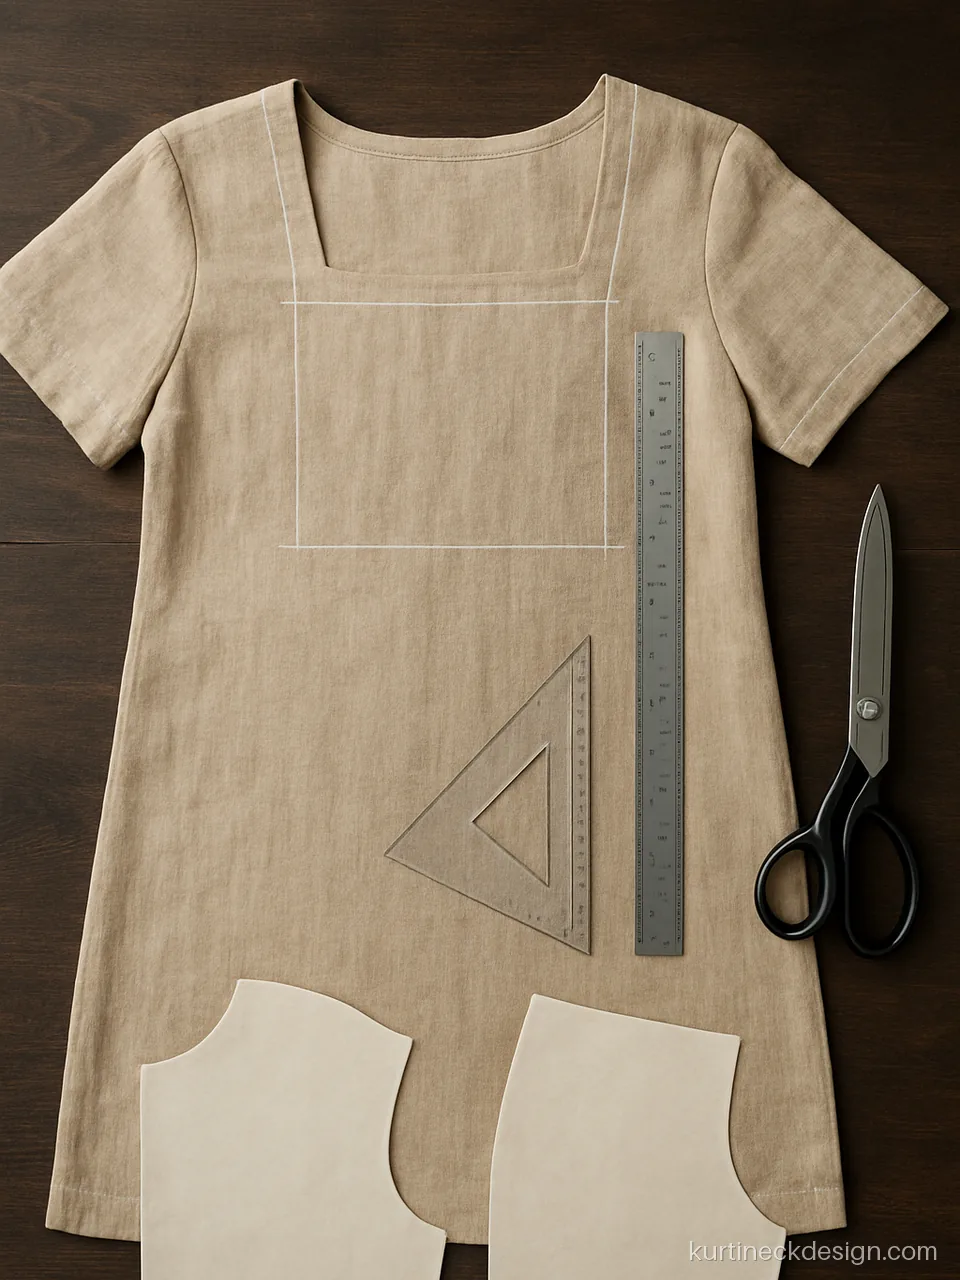
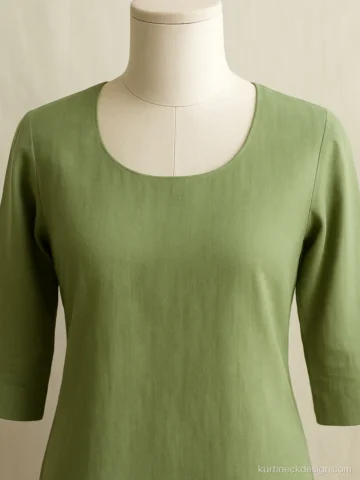
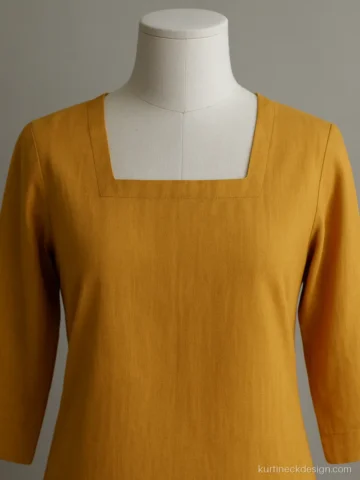
Depth: Front 6.5 in, back 5 inFabric: LinenTrim: Chalk only
Straight necks need a ruler and a set square. Check the corner angle before you cut, because linen will show any wobble.
Darzi noteSquare 6.5 inch deep, 3.5 inch half width. Use a set square at the corner, mark seam allowance separately.
Paper Neck Pattern Kurti Design Templates
A paper template saves time and keeps every kurti the same. Make one for each shape you like and keep them in a file.
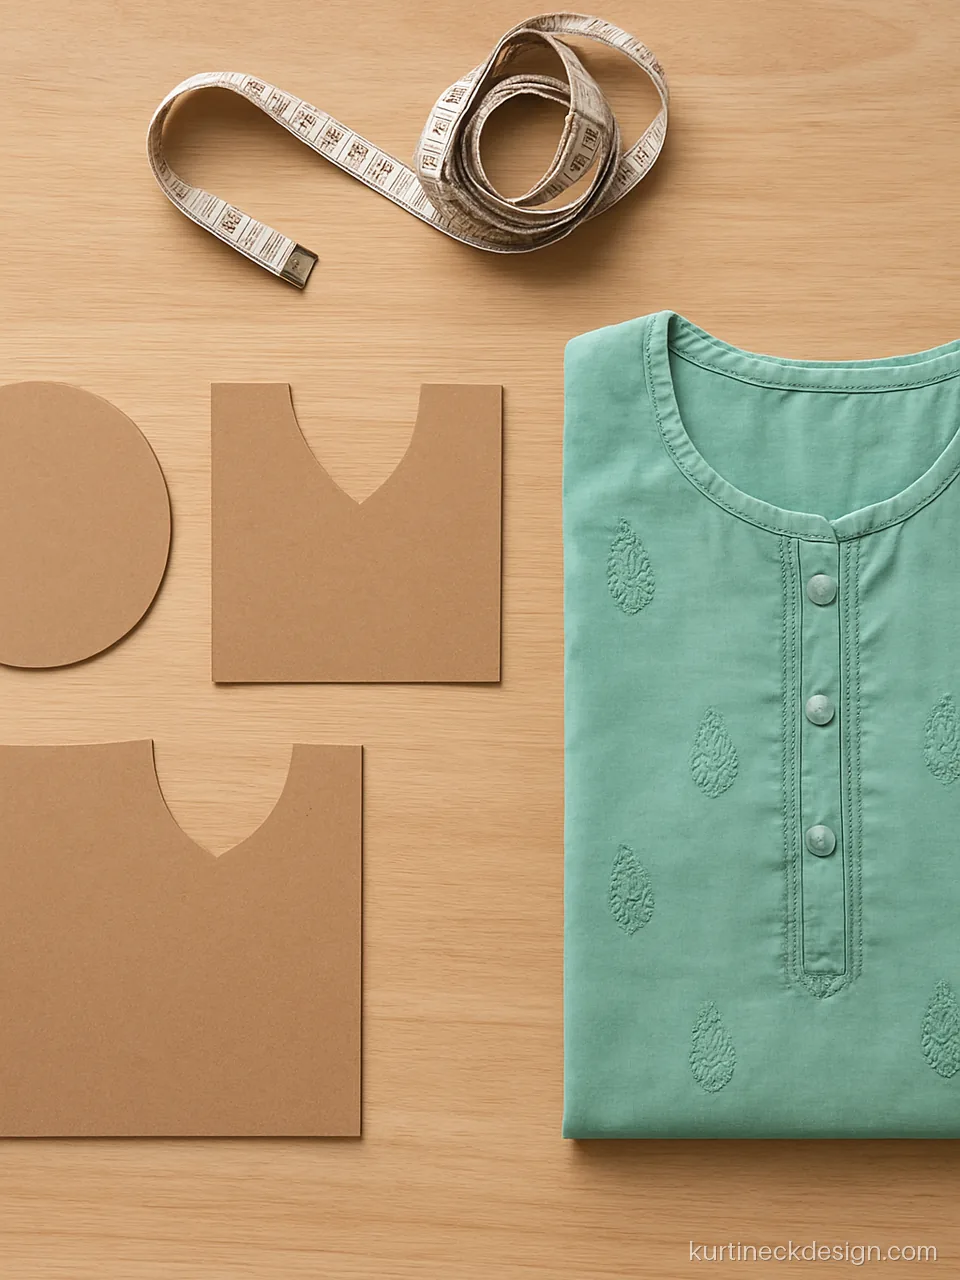
Depth: Round, V and U setFabric: Brown paperTrim: Paper template
Cut one template each for round, V and U. Pin the right one on the fold and trace. No more guessing every time.
Darzi noteKeep separate paper templates for each neck. Note front and back depth on the back of each.
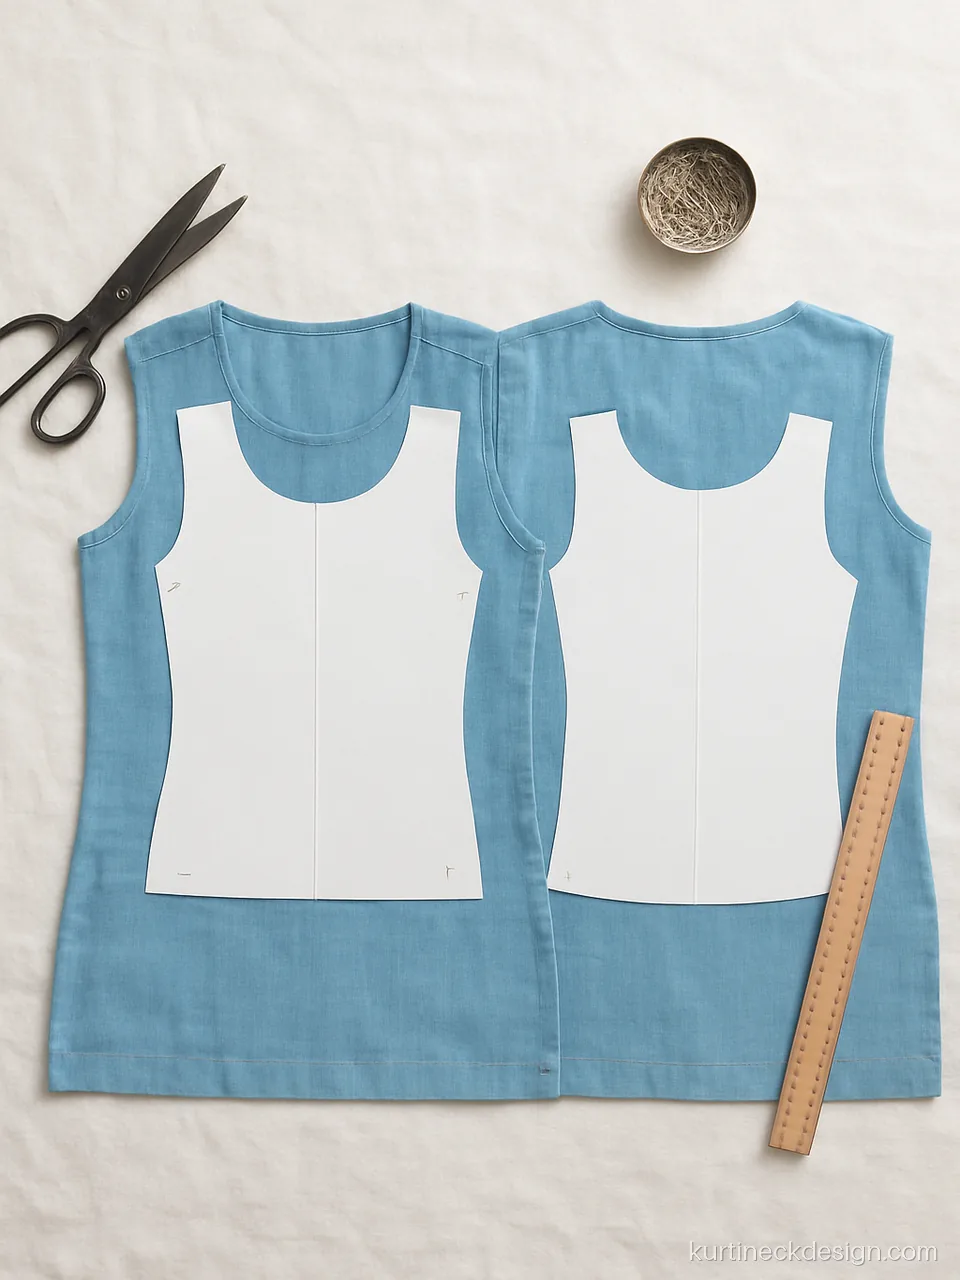
Depth: Front 5.5 in, back 4 inFabric: CottonTrim: Paper template
The back template is always shallower for daily wear. Place both on the fabric together so the shoulder widths match.
Darzi noteFront template 5.5 inch, back 4 inch, same shoulder width on both. Match shoulder points before cutting.
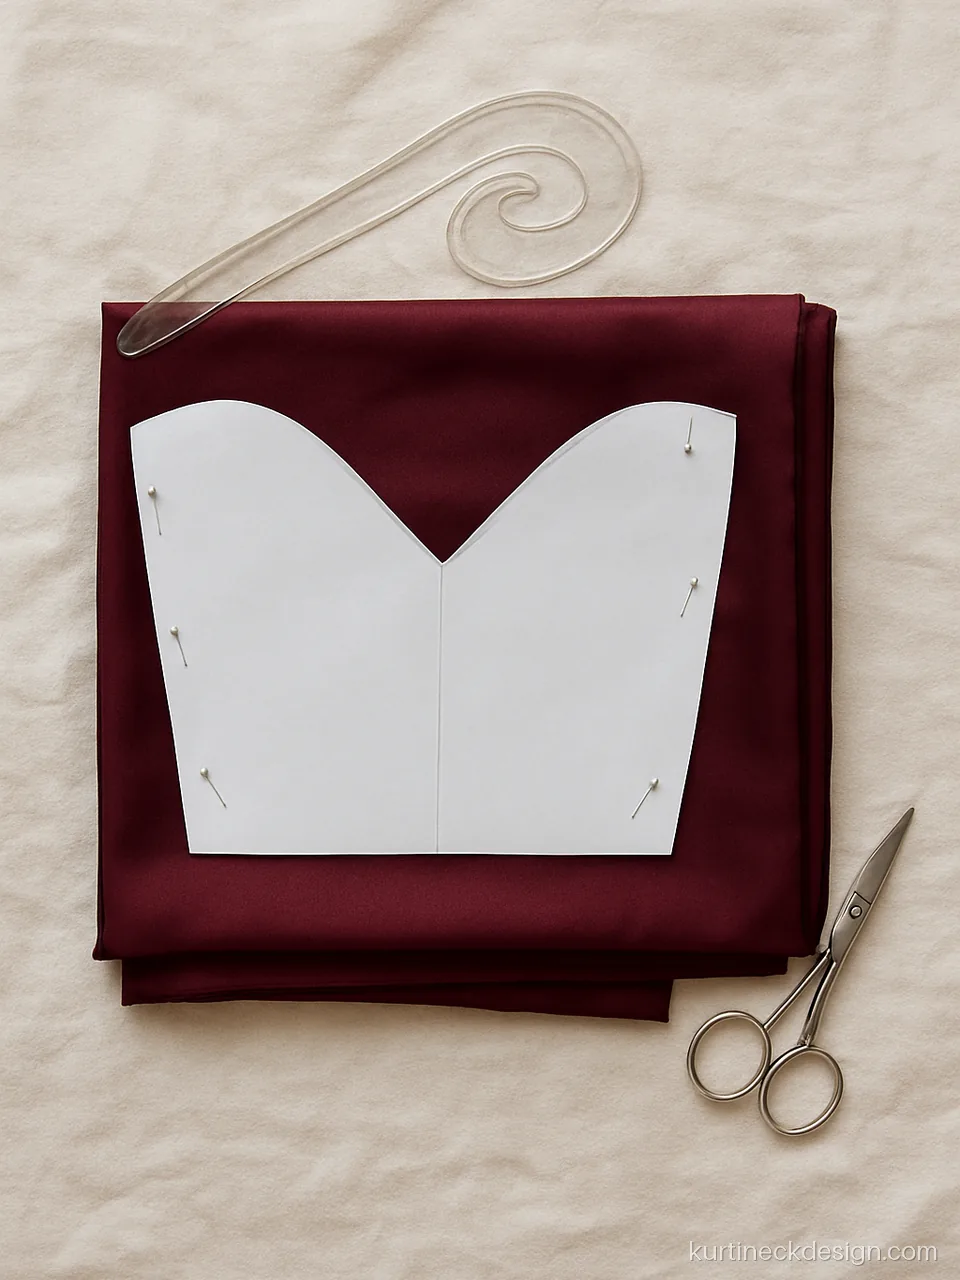
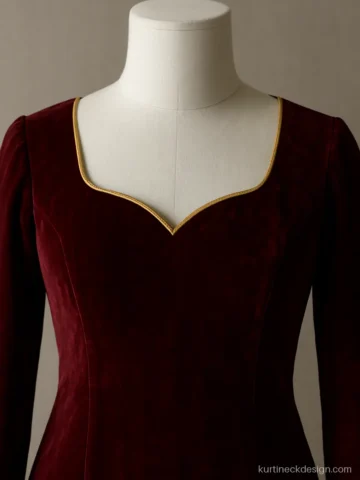
Depth: Front 7 in, back 6 inFabric: SilkTrim: Paper template
A French curve helps you draw the two soft bumps of a sweetheart evenly. Trace the half, then flip the paper.
Darzi noteSweetheart 7 inch at the dip, 6 inch back. Draw half on paper with a French curve and flip.
Cutting and Finishing with Facing or Piping
Once the neck is cut, finish it the same day. A cut neck left lying around stretches out of shape, especially on rayon and georgette.
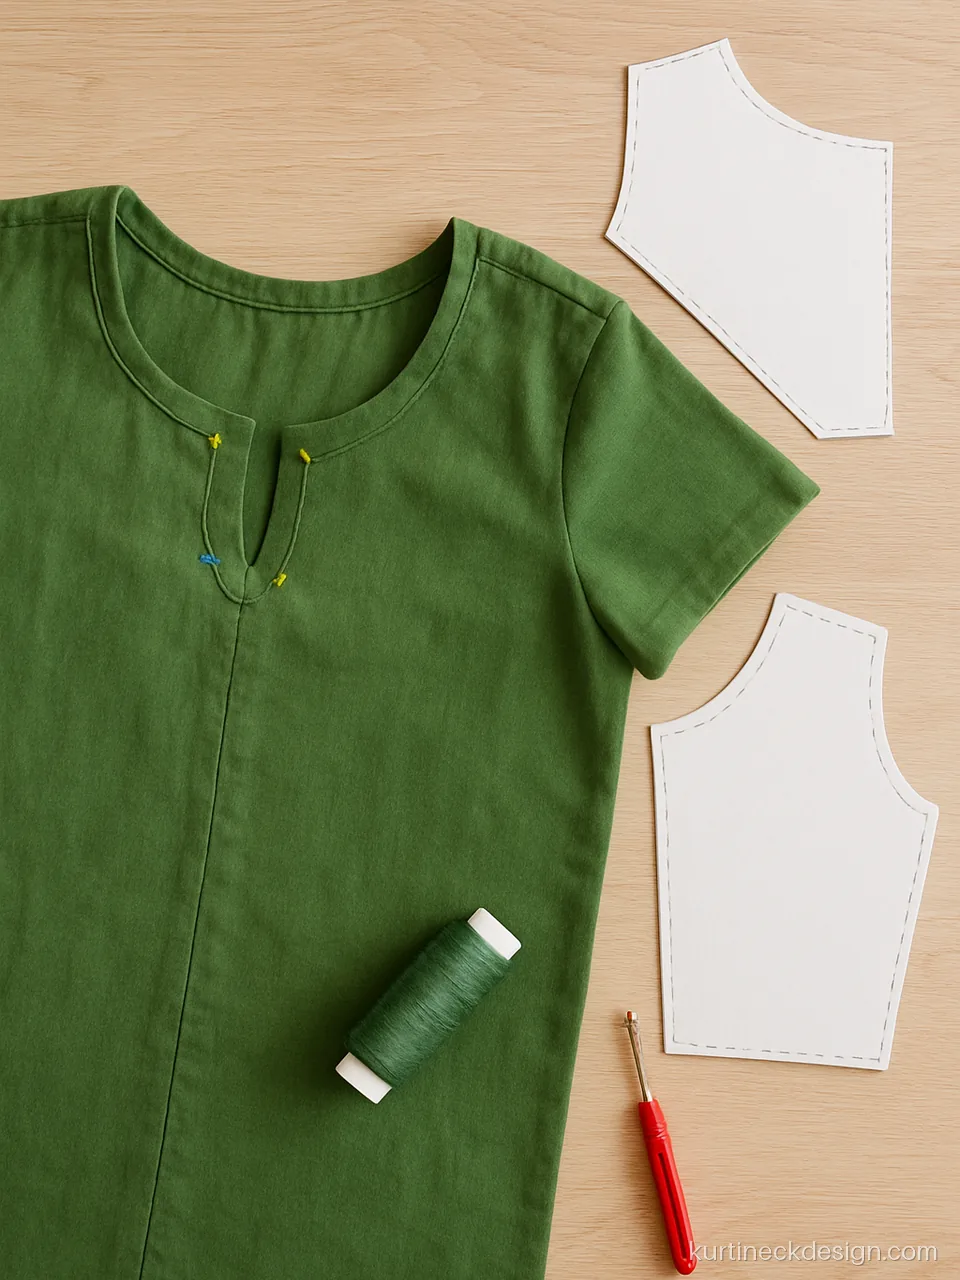
Depth: Front 5.5 in, back 4 inFabric: CottonTrim: Self facing
The facing is cut from the same paper template, about 1.5 inches wide. Pin right sides together and stitch on the seam line.
Darzi noteCut facing 1.5 inch wide from the same template. Fuse on soft fabric, clip curves every half inch.
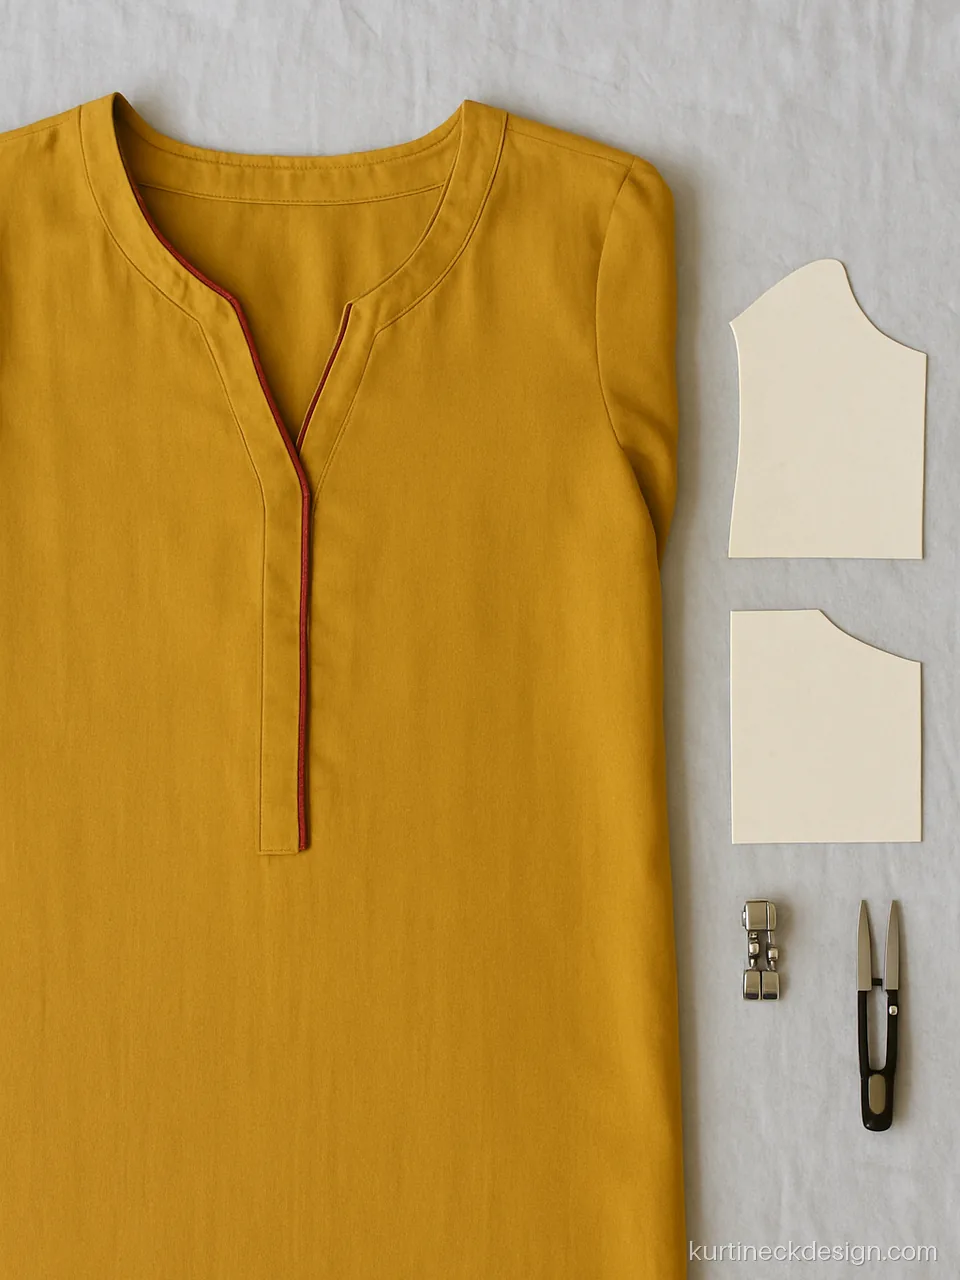
Depth: Front 7 in, back 5 inFabric: RayonTrim: Contrast piping
Sandwich the piping between the neck and facing so only a thin line shows. Clip the V point with care.
Darzi noteV neck 7 inch. Baste piping first, then add facing. Clip the point close and turn gently.
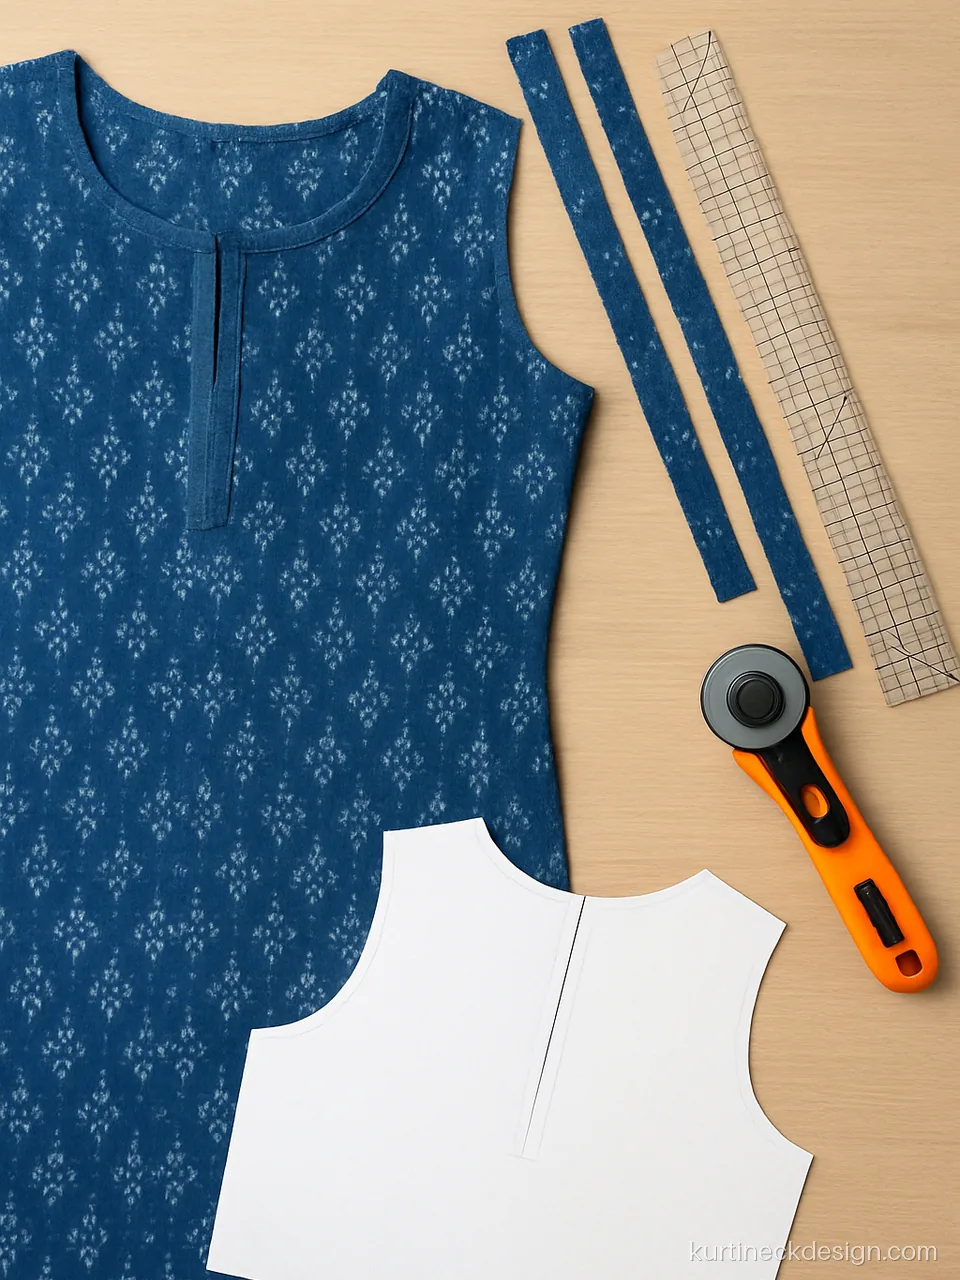
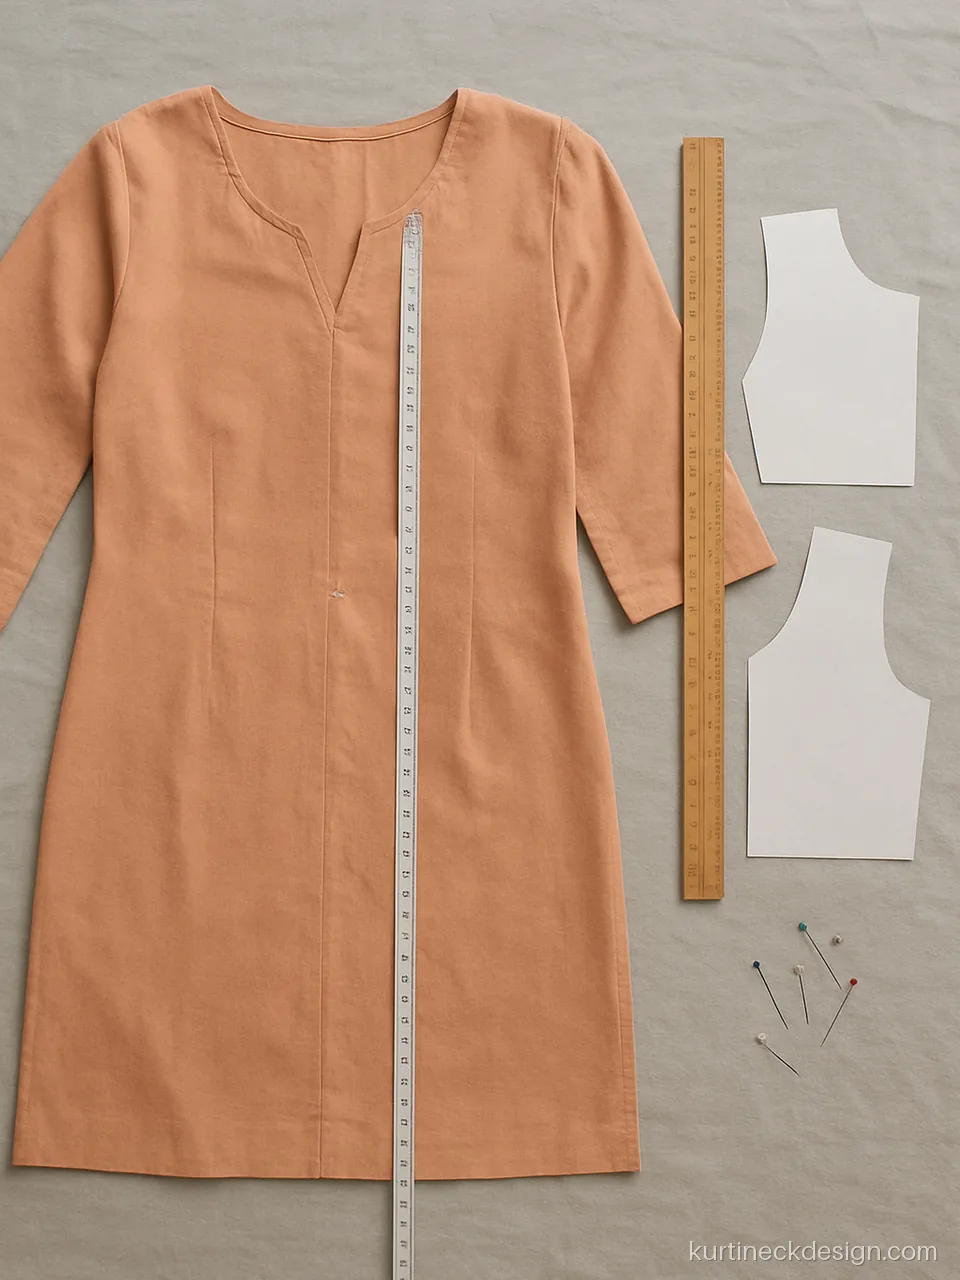
Depth: Front 5 in, 3 in slitFabric: Printed cottonTrim: Bias binding
Bias strips bend around curves without puckering. Cut them at 45 degrees and about 1.25 inches wide.
Darzi noteCut bias strips 1.25 inch wide at 45 degrees. Join ends on the diagonal, press in half.
Finished Necks for Full Bust and Broad Shoulders
These finished fronts show shapes that sit well on a full bust or broad shoulders. They follow the same depth chart below. For more ideas see our front neck designs.
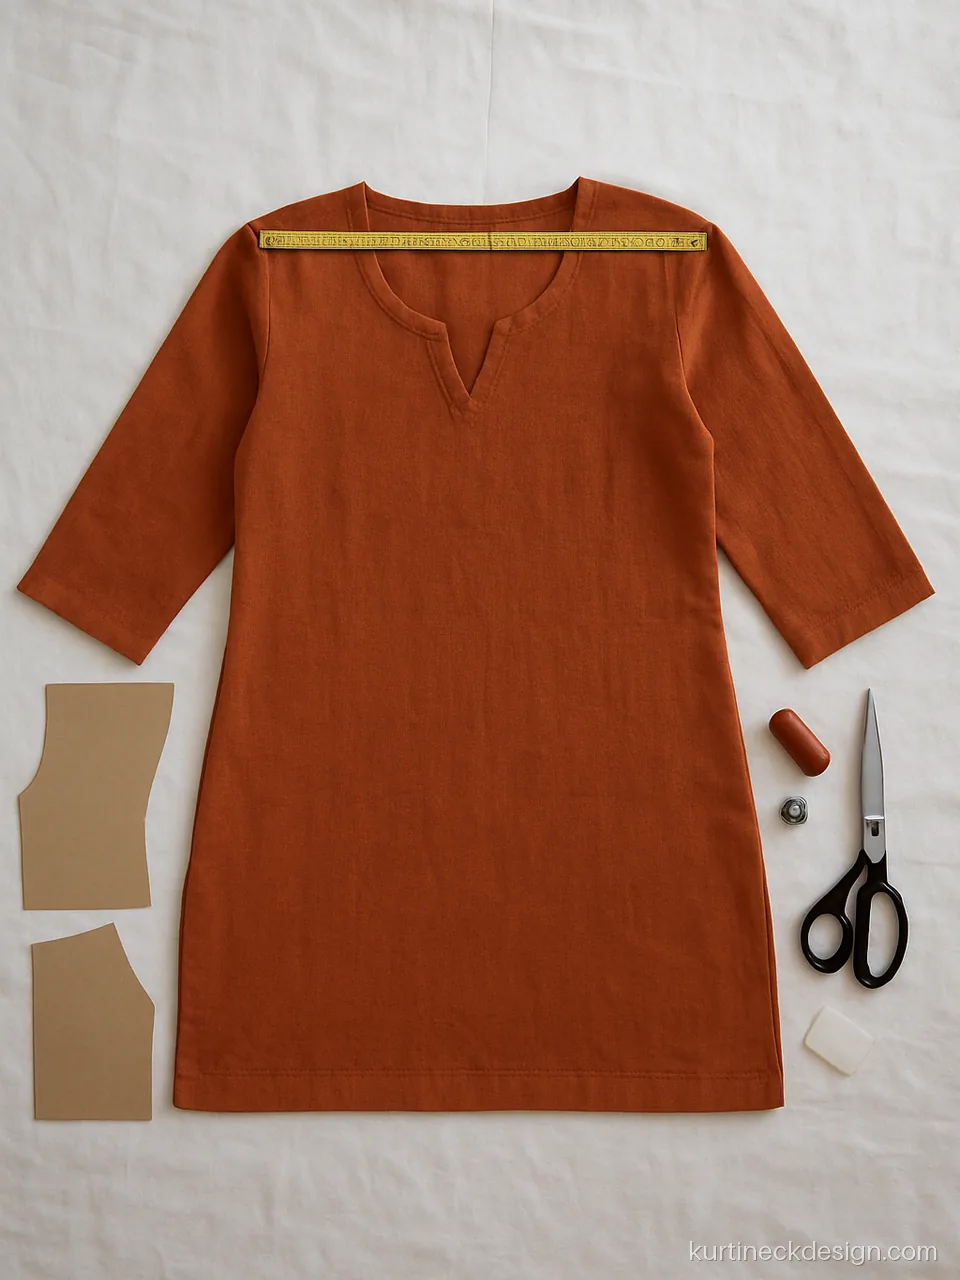
Depth: Front 7 in, back 5 inFabric: CottonTrim: Self facing
Keeping the width at about 6 inches pulls the eye to the centre. This front broad neck design fix works for most body types.
Darzi noteV neck 7 inch, total width 6 inch only. Keep 3.5 inch of shoulder on each side.
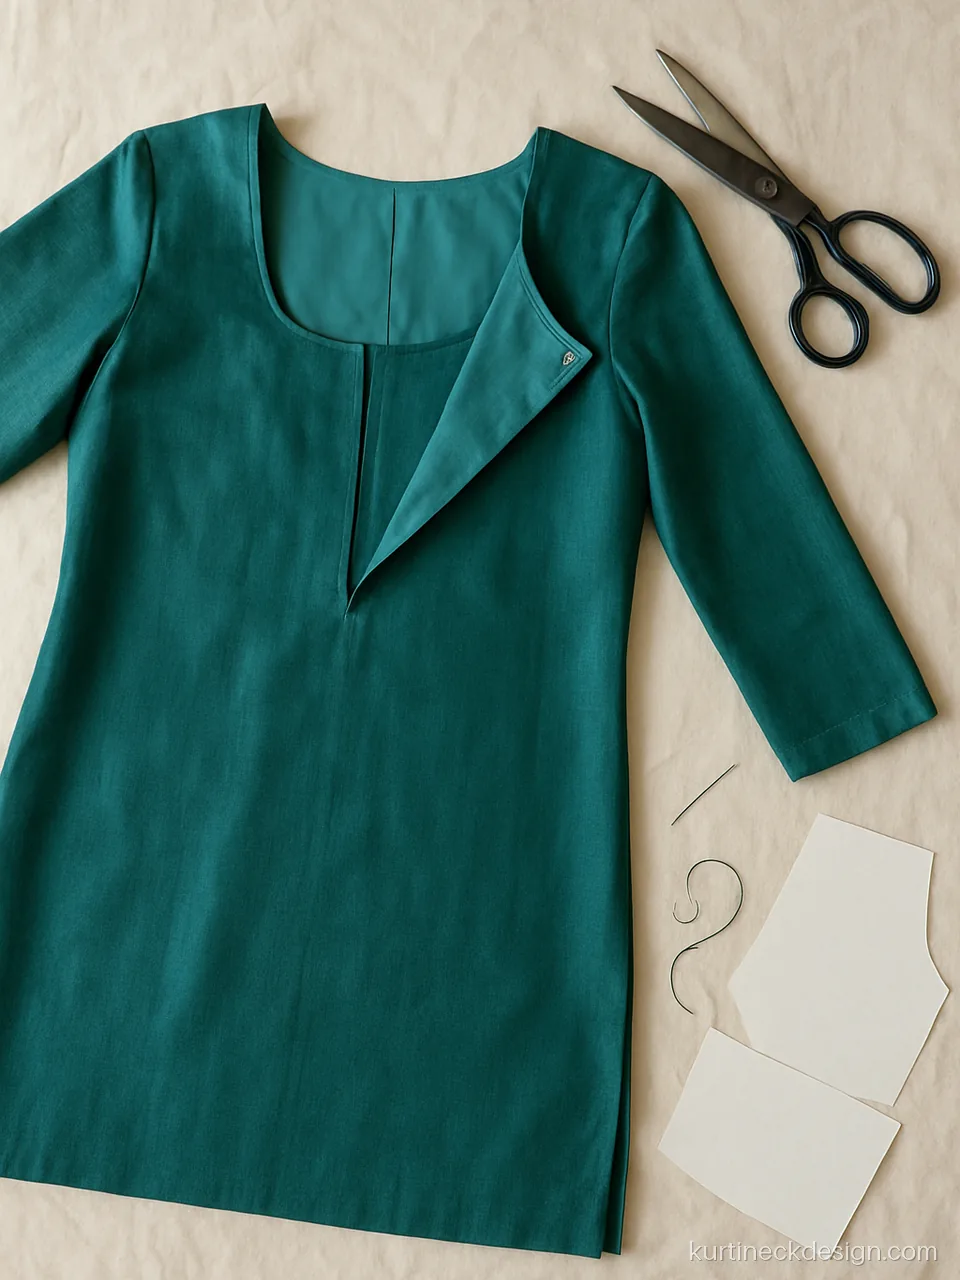
Depth: Front 7 in, back 5 inFabric: Silk, satin silkTrim: Hidden press stud
A small press stud inside the facing stops a deep U from gaping on a full bust. Sew it at the deepest point.
Darzi noteU neck 7 inch. Hidden press stud at the lowest point, full cotton lining, understitch the facing.
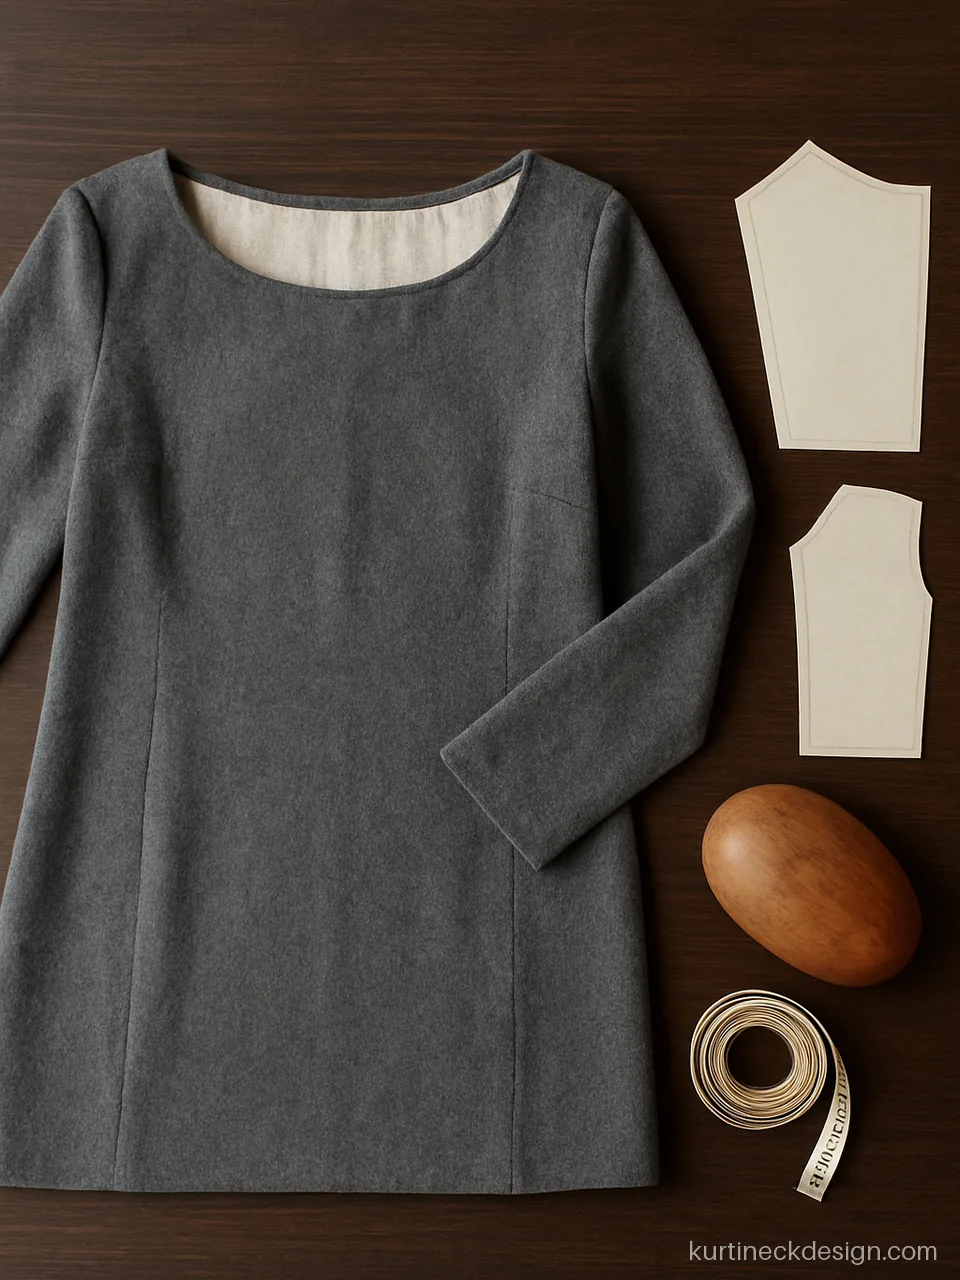
Depth: Front 3.5, back 5 inFabric: Wool blendTrim: Lined facing
A broad neck design on wool needs a firm facing and a lining so it does not stretch. Keep it about 3.5 inches deep.
Darzi noteBoat neck 3.5 inch front, 5 inch back, 10 inch wide. Line in cotton, interface the facing.
How to Measure Before You Mark
You need three numbers for any neck suit design for stitching: front depth, back depth and total width. Take them on the person, not from an old kurti that may have stretched.
- Find the shoulder-neck point. This is where the shoulder seam meets the side of the neck. All depths start here.
- Front depth: hold the tape at that point and let it fall straight down the front. Note where you want the neck to end.
- Back depth: do the same at the back. For daily wear keep it shallower than the front.
- Width: measure across from one side of the neck opening to the other. Halve it for marking on the fold.
- Shoulder left over: make sure at least 2.5 to 3 inches of shoulder remains on each side, or straps will show.
Write the numbers down. Every body is different, so treat the chart below as a starting point.
Standard Front and Back Neck Depths in Inches
These are the depths most boutique tailors start from, measured down from the shoulder-neck point.
| Neck | Front depth | Back depth | Total width |
|---|---|---|---|
| Round daily | about 5 to 6 in | about 3 to 5 in | about 6.5 to 7.5 in |
| Boat | about 3 to 4 in | about 4 to 6 in | about 9 to 11 in |
| V neck | about 6 to 8 in | about 4 to 6 in | about 6 to 7 in |
| Deep V or party back | about 8 to 9 in | about 8 to 11 in | about 6.5 to 7.5 in |
| Square or U | about 6 to 7 in | about 4 to 6 in | about 6.5 to 7.5 in |
| Collar or band | 1 to 4 in placket | about 1 to 2 in | fits neck round |
| Sweetheart | about 6 to 7.5 in | about 5 to 7 in | about 6.5 to 7 in |
For office and daily wear, stay near the lower number. For functions, the upper number is fine. Deep V and party backs need lining and a hook or dori so they hold their place.
Marking and Cutting Step by Step
- Pre-wash and iron the fabric so it does not shrink after stitching.
- Fold the front in half along the centre, right sides together.
- Place your paper template on the fold, or mark half the width out from the fold and the depth down the fold.
- Join the two marks with a smooth curve for round and U, a straight line for V, or a right angle for square.
- Add a quarter inch seam allowance inside the line. Many tailors forget this and the neck ends up a little too big.
- Cut through both layers at once. Repeat for the back with the back depth.
- Stay-stitch a quarter inch from the edge right away to stop stretching.
Keeping a folder of dress design patterns for neck shapes on brown paper saves time on every new order.
Facing, Piping or Bias: Which Finish to Use
| Finish | Best on | Tip |
|---|---|---|
| Self facing | Cotton, linen, khadi | Cut 1.5 in wide from the same template, understitch so it stays inside. |
| Fused facing | Rayon, georgette, crepe | Light fusing stops stretch and keeps V points sharp. |
| Piping | Most fabrics | Baste piping first, then the facing. Pre-wash the cord. |
| Bias binding | Cotton, voile, slits | Cut at 45 degrees, about 1.25 in wide, stretch slightly on curves. |
| Full lining | Silk, net, chiffon, wool | Use soft cotton so the neck does not scratch. |
For trims, cotton lace, gota patti and thread piping survive washing well. Read our piping neck design page for colour ideas.
Necks for a Full Bust or Broad Shoulders
For a full bust, a V, U or sweetheart neck about 6.5 to 7.5 inches deep sits best. High round necks with heavy work across the chest make the top look heavier. Keep the width moderate and add a hidden press stud at the lowest point.
For broad shoulders, keep the neck narrow, about 6 inches wide, and go a little deeper. A front broad neck design such as a wide boat or wide square is better for narrow shoulders, because it adds width where it is needed. Vertical plackets and button rows also help draw the eye to the centre.
Common Mistakes and How to Fix Them
- Gaping neck: the edge stretched or the neck is too wide. Stay-stitch, cut the facing a little smaller, and add a press stud.
- Uneven sides: the fabric was not folded on the true centre. Always cut on the fold or use a full paper template.
- Neck too deep: depth was measured from the wrong point or seam allowance was forgotten. Add a lace or band to raise it.
- Facing rolling out: understitch the facing to the seam allowance and press well.
- Puckered curve: clip the seam allowance every half inch on curves and press with a tailor's ham.
- Back neck slipping: add a small hook at the back or a dori tie, and keep shoulder width at least 2.5 inches.
Neckline questions
What is the standard neck suit design for stitching depth?
For a daily round neck, about 5 to 6 inches at the front and 3 to 5 inches at the back, measured from the shoulder-neck point. A V can go to about 7 or 8 inches. Always try it on a trial piece first.
Which front neck design for heavy breast or full bust sits best?
A V, U or sweetheart neck about 6.5 to 7.5 inches deep. Avoid high necks with heavy embroidery across the chest. A hidden press stud stops the edge from opening when you move.
How do I make a pattern front kurti neck design at home?
Draw half the neck on brown paper using your depth and half width, cut it out and place it on the folded fabric. Trace, add a quarter inch seam allowance and cut both layers together.
What is the best woolen suit neck design for stitching?
Round, boat and band necks work well on wool. Keep the depth modest, about 5 inches for round, and line the neck in soft cotton so it does not itch or stretch.
Why does my neck design look uneven after stitching?
Usually the fabric was not folded on the true centre or the two sides were cut separately. Cut on the fold, stay-stitch right away and press both sides the same way.
Where can I find neck pattern kurti design ideas?
Browse our front neck designs, back neck designs and V neck kurti designs. Each picture lists depth, fabric and a note for the darzi.